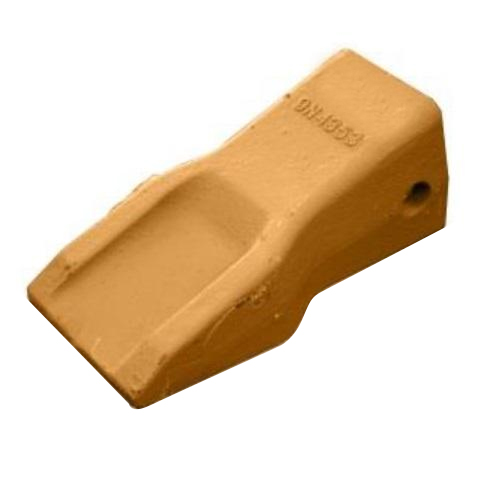
Bucket teeth are critical components of your heavy machinery, ensuring optimal performance in digging, excavating, and material handling tasks. Over time, these teeth can wear down and require replacement to maintain efficiency and prevent damage to your bucket. This guide will walk you through the steps to install or replace teeth on your bucket, referencing helpful resources like this video tutorial and Texas Contractors Equipment’s comprehensive selection of replacement teeth.
Tools and Materials Needed
Before starting, gather the following tools and materials:
- Replacement bucket teeth (matched to your bucket’s model)
- Retaining pins and hardware
- A hammer or mallet
- A punch tool
- Safety gloves and goggles
Step 1: Inspect Your Bucket Teeth
Begin by inspecting the condition of the existing bucket teeth. Look for cracks, excessive wear, or other signs of damage. If the teeth are worn beyond recommended tolerances, it’s time to replace them to prevent further damage to your equipment.
Step 2: Remove Old Teeth
- Secure the Bucket: Ensure the bucket is stable and placed on a level surface to avoid movement during the replacement process.
- Remove Retaining Pins: Use a punch tool and hammer to drive out the old retaining pins. Depending on the model, pins might be secured with clips or bolts, which need to be removed.
- Take Off Worn Teeth: Once the pins are removed, slide the worn teeth off the shank.
Step 3: Clean the Shank
Before installing new teeth, clean the shank area where the teeth attach. Remove dirt, debris, and rust to ensure a secure fit. A wire brush or rag can be useful for this step.
Step 4: Install New Teeth
- Position the New Teeth: Slide the replacement teeth onto the shank, ensuring they are properly aligned.
- Insert Retaining Pins: Align the pinhole on the tooth with the hole on the shank. Insert the retaining pin or bolt through the aligned holes.
- Secure the Pins: Use a hammer to drive the retaining pins into place or tighten the bolts securely, depending on the tooth design. Check that the pins are flush and firmly seated.
Step 5: Double-Check the Installation
Once all teeth are installed, inspect your work. Ensure each tooth is secure and properly aligned with the bucket edge. Loose teeth can cause inefficiencies and potential damage during operation.
Why Choose Texas Contractors Equipment?
Texas Contractors Equipment offers a wide range of top-quality bucket teeth from industry-leading manufacturers. With over 47 years of experience, they are your go-to supplier for ground-engaging tools and product support in the Houston area. Their knowledgeable team can help you find the right teeth for your equipment and guide you through the installation process.
By following these steps, you can easily replace your bucket teeth and keep your heavy machinery operating efficiently. Contact Texas Contractors Equipment today at 713.776.1212 or visit us online for more information!


Leave a Reply